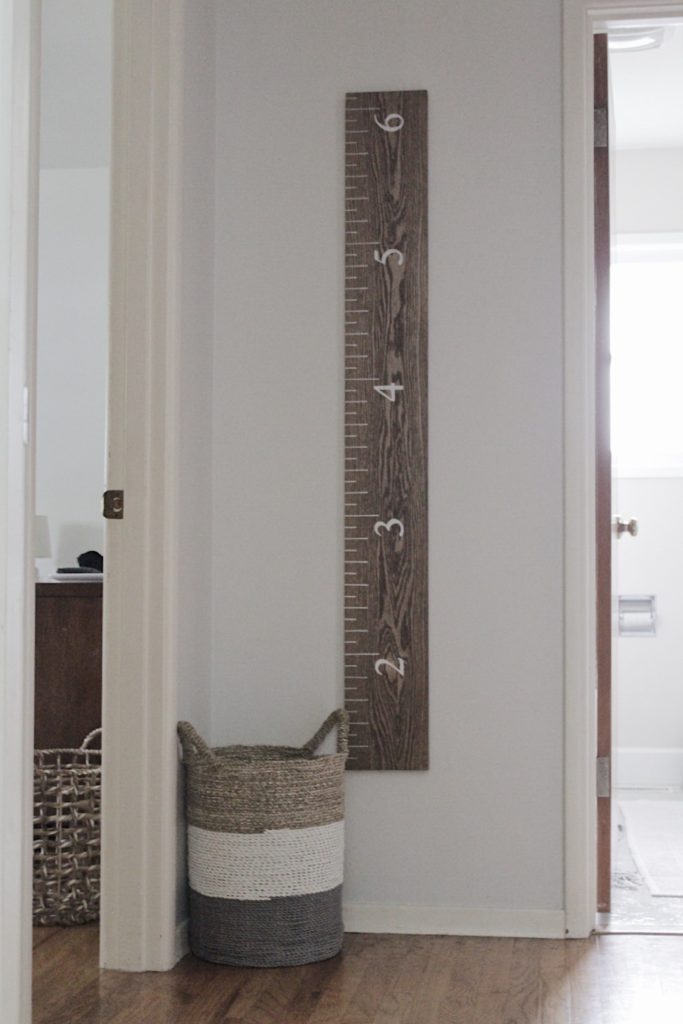
Growing up the door frame to our kitchen always held colorful marks to track our growth. My husband and I knew we wanted to carry-on the tradition, but wanted the marks to stay with us and not the house if we moved. I couldn’t bear the thought of someone painting over sweet Dalton’s progress marks!! I had seen these beautiful wall rulers and knew that would be perfect for our home, minus the price tag! So with some scrape wood we had left over from our fireplace mantel project, I got to work. I decided to go ahead and document it so you so you know how to make a ruler growth chart for your home as well. Let’s get started!
This project ended up being super easy once I figured out where I wanted the measurements to start and I only needed a few items that I already had at home.
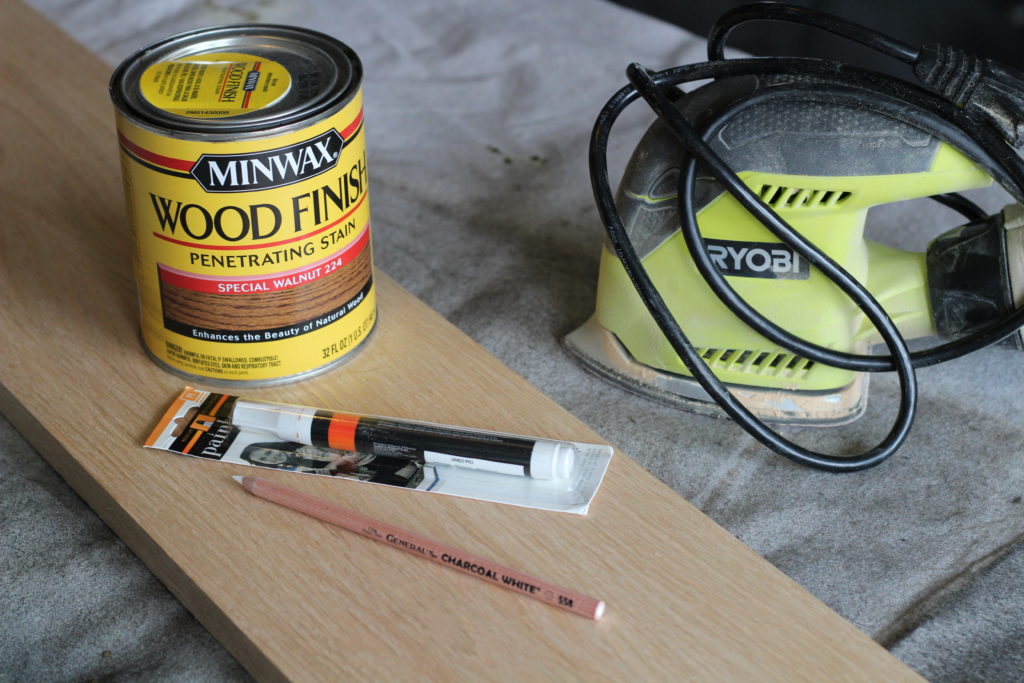
Ruler Growth Chart Supplies:
- 1 – 6 ft 1×8 board (I already had some wood on hand so mine wasn’t this exact measurement. This is a pretty standard board size from a hardware store.)
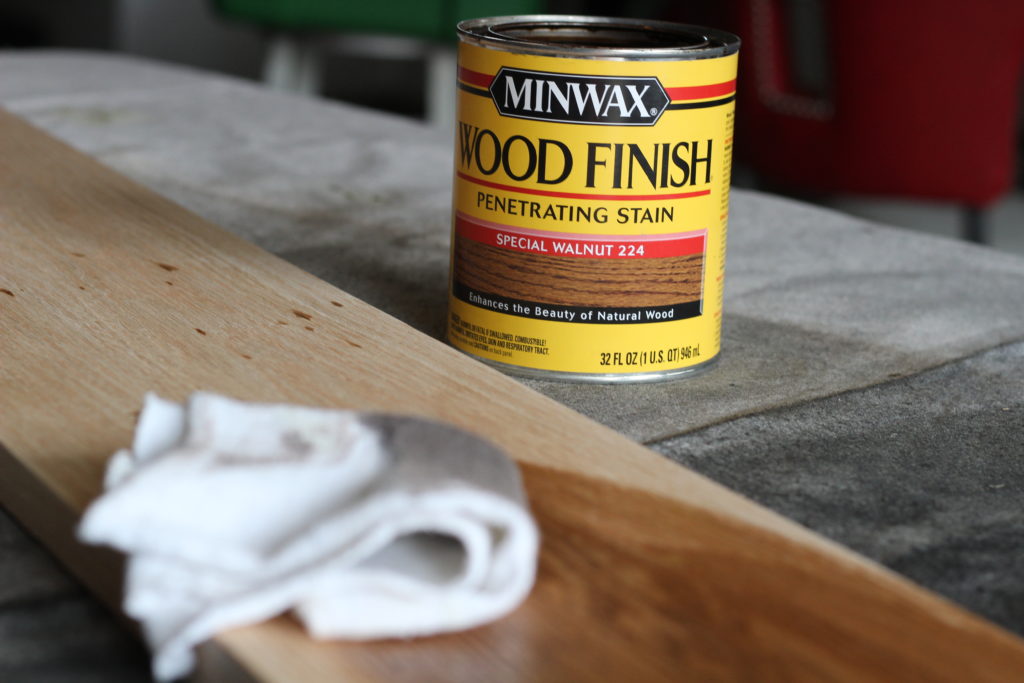
- Woodstain – color of your choice (I used Minwax Special Walnut)
- Sander or sandpaper
- Clean cloth or foam paintbrush
- Ruler and/or measuring tape
- White Charcoal Pencil (it doesn’t have to be white but I had one already and think it shows up better on the dark stain)
- Paint pen or Sharpie (depending on what color you are going with)
- Printed numbers (if you don’t trust yourself to freehand)
Ruler Growth Chart Directions:
First, sand down your board to smooth any roughness and wipe clean with a damp cloth. Then, brush or wipe your desired wood stain onto your board. I wanted the board to look like walnut, so I chose Special Walnut from Minwax. Depending on how dark you want your ruler, you can wipe off the stain with a towel after 5 minutes, or wait longer if you want it darker.
Then you will want to make the ruler marks on the board. Using a pencil and starting at the very bottom, measure up and mark a line every inch. I made every other line to be 2 inches long, the foot markers to be 3 inches long and the rest are 1 inch long. Hopefully the picture helps to explain! 🙂
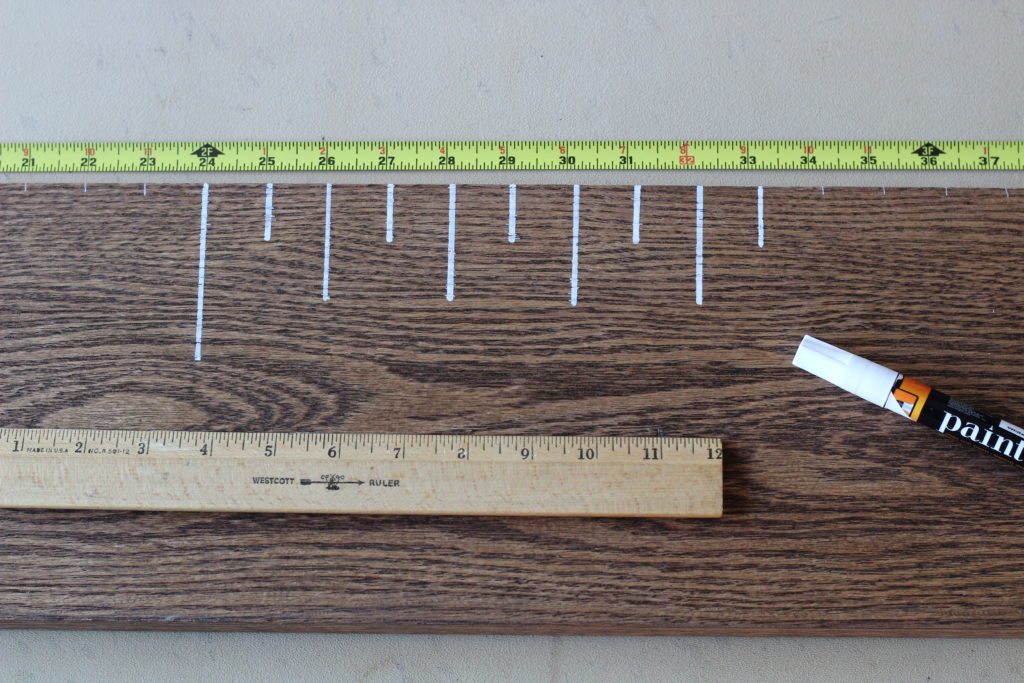
Next, use a paint pen or a Sharpie and go back over your pencil lines. I chose to extended my lines over the edge to wrap around the side of the board.
I’m also sharing the ruler numbers for you to print out as well. Clink below to download and print them out.
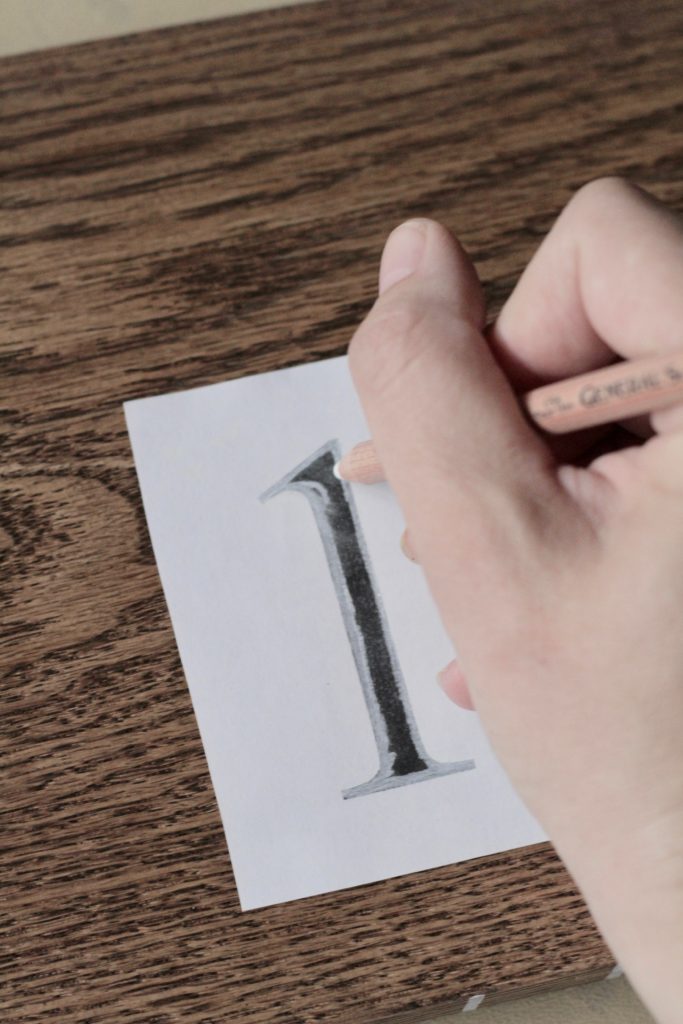
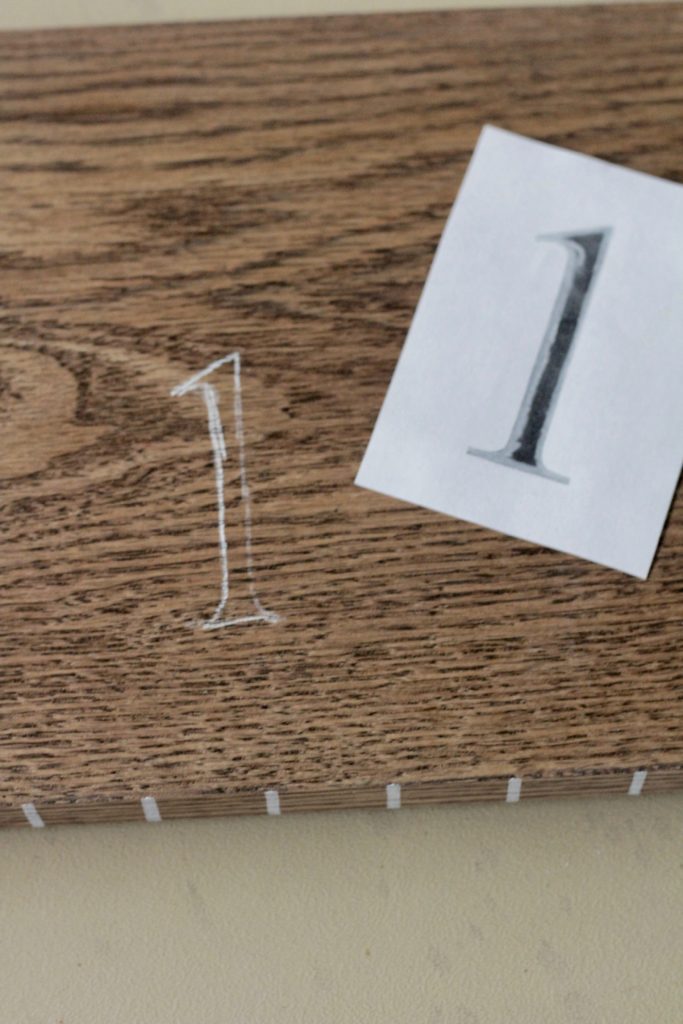
Next we want to transfer the numbers to the growth chart. Cut them apart and rub a charcoal pencil all over the back, making sure the number is completely covered. Turn the number back over, and position it next to the 3 inch long “foot” mark on your growth chart.
With a heavy hand, use a pen or pencil to trace the number. You will be left with a faint pencil outline of the number on the wood. Use your paint pen or Sharpie and color in the numbers.
Continue with all the numbers. Once the paint or Sharpie is dry, you could cover with a clear a polycrylic sealer. I didn’t end up doing this, but I might still seal it before I make any height marks. You might want to try using a spray polycrylic instead of one that requires you to paint it on if you are concerned about smearing marks.
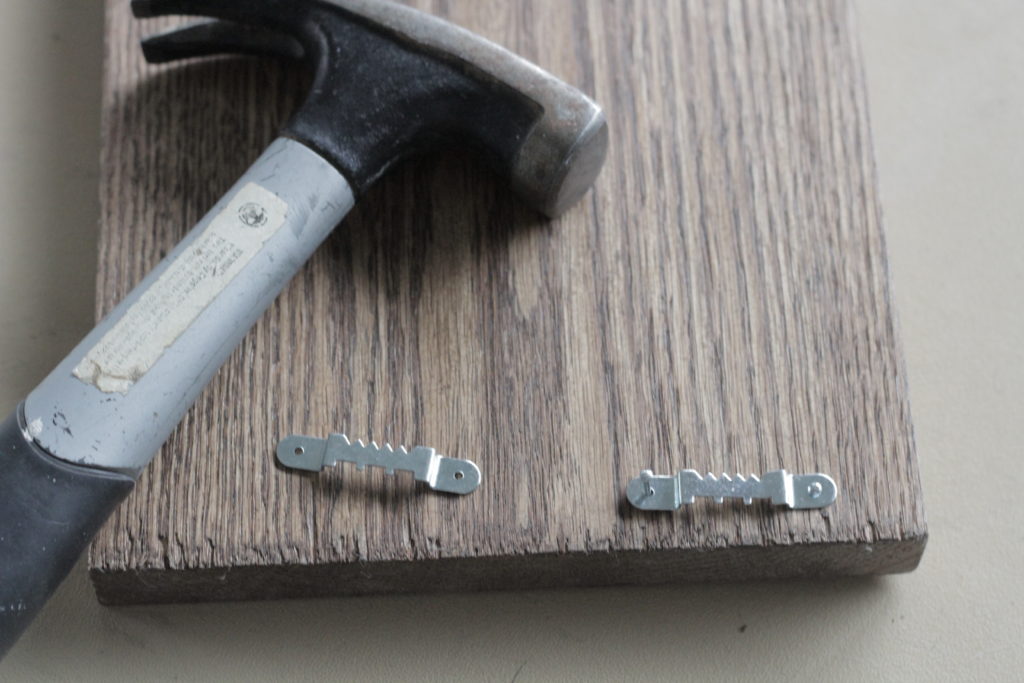
Lastly, I added two sawtooth hangers on the back for hanging, but you could also add pretty ribbon instead by drilling some holes at the top. I used the hangers just because I wanted a cleaner look as if it was free floating on the wall.
And that’s it y’all!
Just make sure to hang the growth chart exactly as many inches from the ground as you started the markings.
I love the way this looks in our hallway!! It fits the space perfectly! It also goes without saying that I can’t wait to start seeing our sweet little ones markings go up on this.
Let me know what you think of the finished project and if you are currently in the middle of a DIY at your house. Thanks for reading!
XO
Callie
